
Did you know that 78% of home cooks rate gravy as the most intimidating part of preparing a holiday meal? Yet this luxurious sauce, which transforms ordinary meals into memorable feasts, relies on surprisingly simple techniques that anyone can master.
Homemade gravy elevates everything it touches from mashed potatoes to roasted meatswith rich, savory depth that no store bought alternative can match. The secret to perfect gravy isn’t uncommon ingredients or professional training, but understanding a few fundamental principles that guarantee silky, flavorful results every time.
Ingredients Nedeed
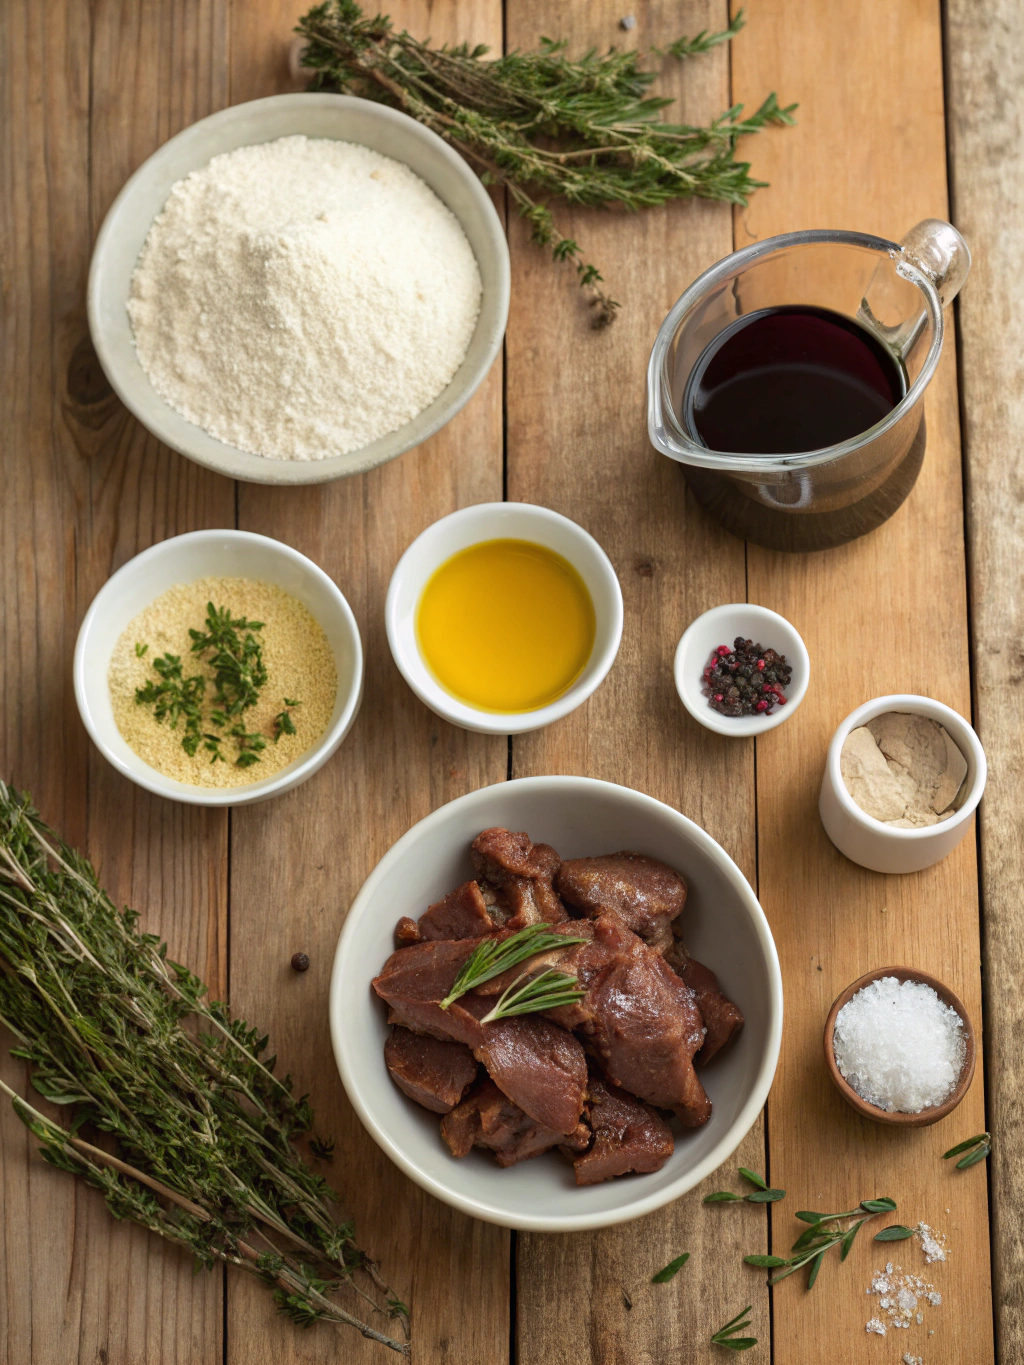
Creating spectacular homemade gravy requires surprisingly few ingredients, most of which you likely already have in your kitchen:
- 2 tablespoons fat (drippings from roasted meat, butter, or oil)
- 2 tablespoons all-purpose flour (substitute cornstarch for gluten free option)
- 2 cups liquid (meat stock, vegetable broth, or milk for cream gravy)

- Salt and freshly ground black pepper to taste
- Optional flavor enhancers: 1 tablespoon minced fresh herbs (thyme, rosemary, sage), 1 teaspoon Worcestershire sauce, or 1 tablespoon of wine or sherry
The quality of your stock dramatically influences the final flavor profile, so consider using homemade stock when possible for the most robust taste. For vegetarians, mushroom stock creates a remarkably meaty flavor profile without animal products.
Gravy Preparation and Cooking Timing
Preparation time: 5 minutes
Cooking time: 10-15 minutes
Total time: 15-20 minutes
Takes just 15-20 minutes total approximately 40% less time than most people assume. This makes it entirely possible to prepare fresh gravy while your roasted meat rests, ensuring both components reach the table at their peak flavor.
Step-by-Step Guide to Making Gravy
Step 1: Preparing the Fat Base for Gravy
Heat your pan drippings in a saucepan over medium heat. If you’re starting without drippings, melt butter or heat oil instead. For enhanced flavor, consider using a combination of butter and the fat rendered from bacon or sausage.
When working with meat drippings, pour them through a fine-mesh strainer to remove any solid bits that might make your gravy lumpy. Pro tip: If you’re making this recipe after roasting meat, deglaze the roasting pan with a splash of stock or wine to capture every flavor molecule.
Step 2: Create Your Roux mushroom stock creates a remarkably meaty flavor
Sprinkle flour evenly over the hot fat while whisking continuously. This critical step creates the roux the thickening foundation of your gravy. Keep whisking for about 2-3 minutes until the mixture turns a light golden color and smells slightly nutty.
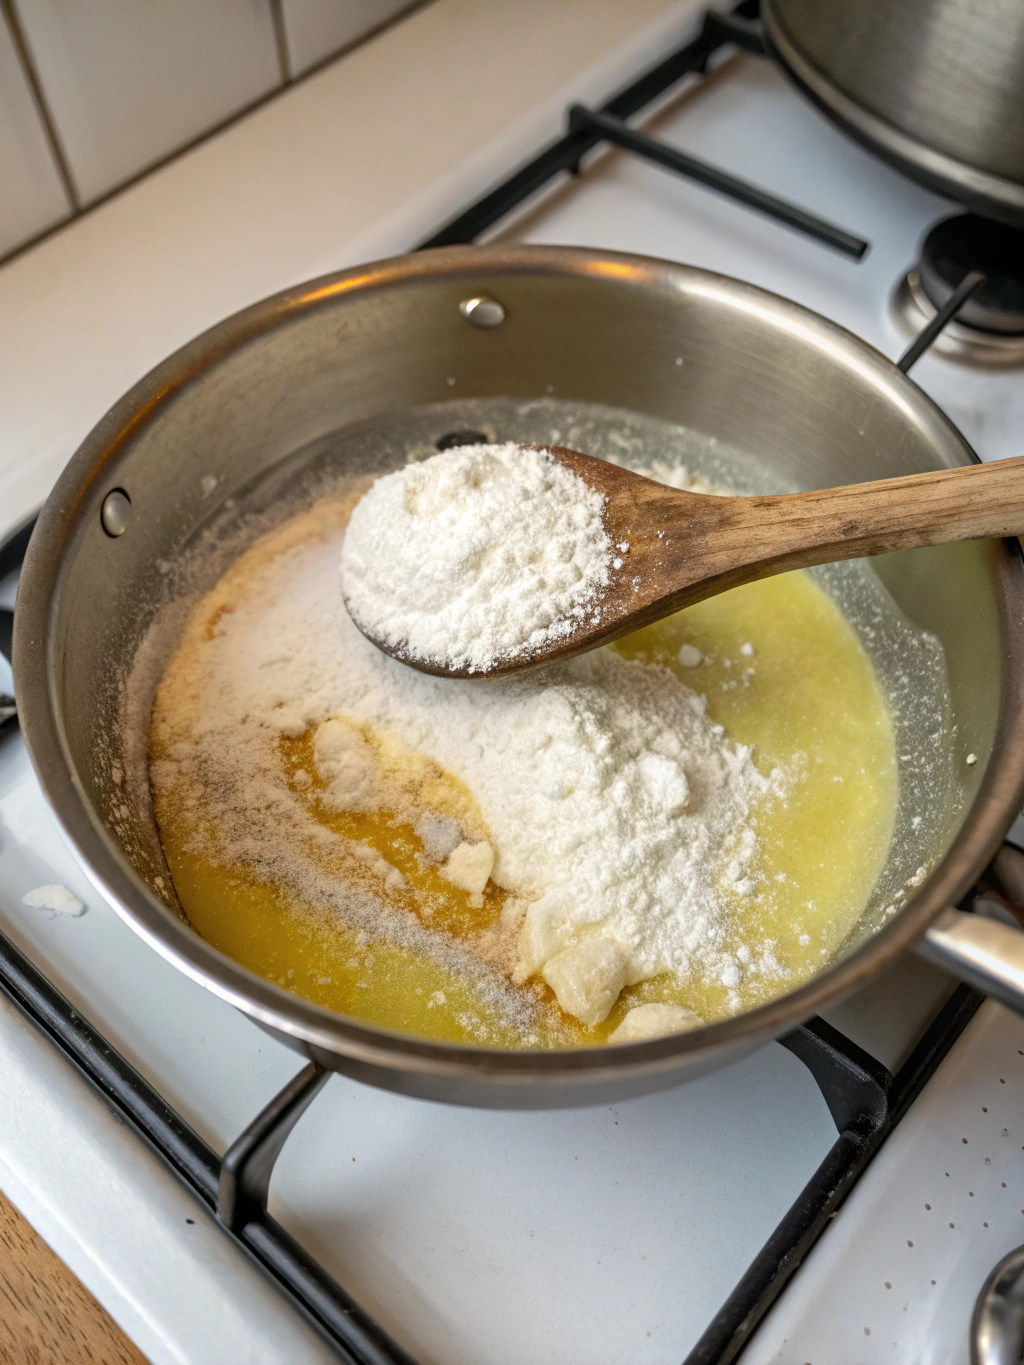
The longer you cook your roux, the deeper the flavor but the less thickening power it retains. For a standard recipe, aim for a blonde roux (light golden). For deeper flavor in dishes like gumbo, you might cook it until mahogany-colored.
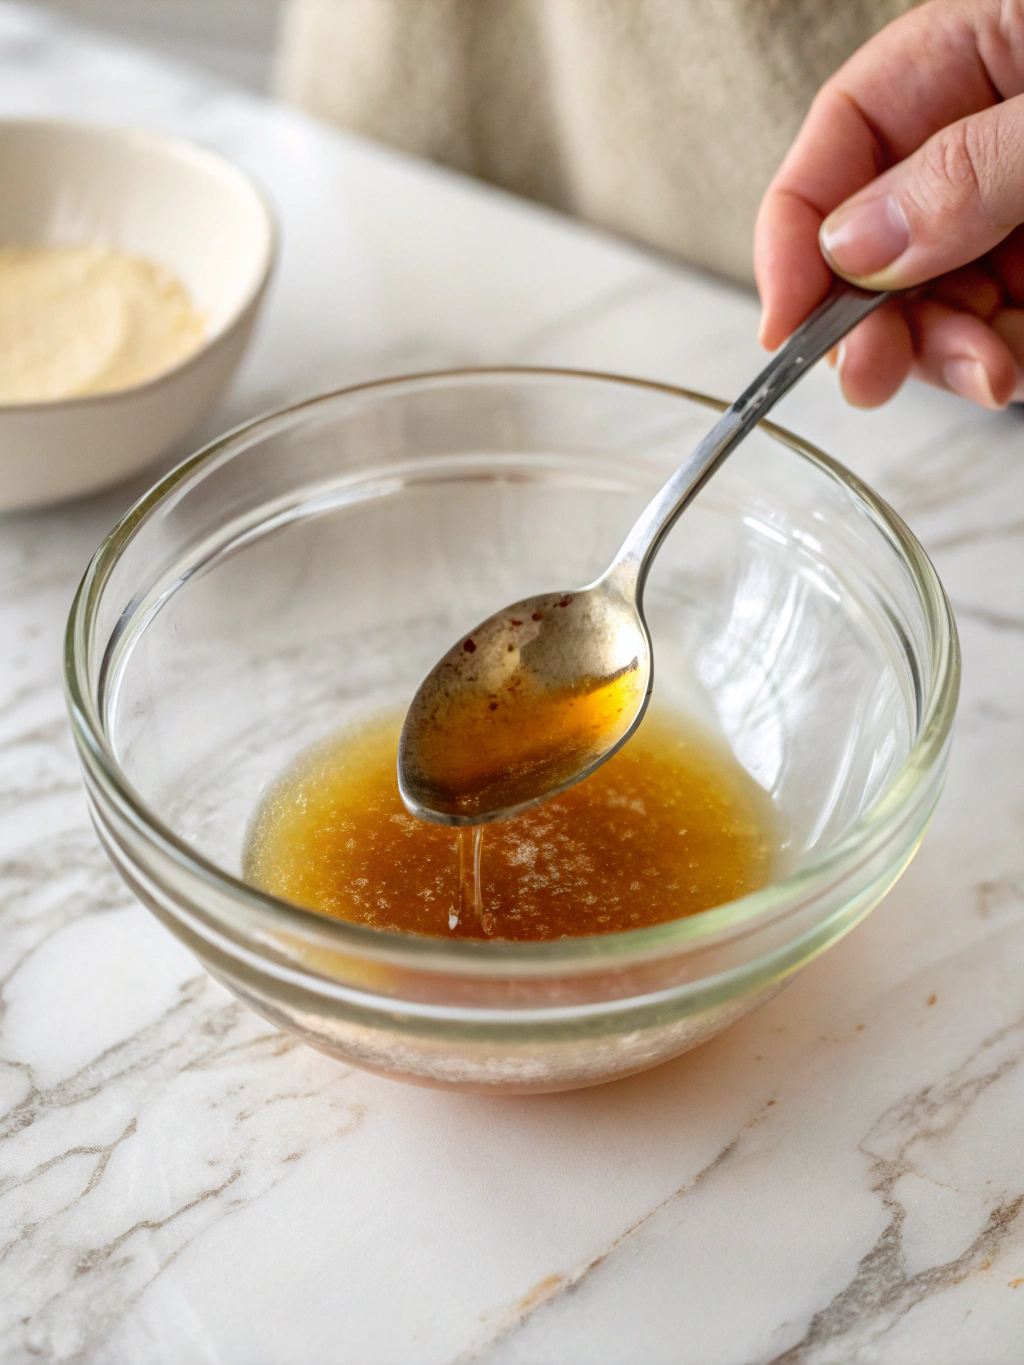
Step 3: Gradually Add Your Liquid
This is where many home cooks stumble, but it’s remarkably simple with the right technique. While whisking constantly, slowly pour in about ¼ cup of your chosen liquid. Incorporate completely before adding more. Continue this gradual addition until all liquid is incorporated.
Pour with your non-dominant hand while whisking with your dominant hand for the smoothest results. The slow incorporation prevents those dreaded lumps that plague many homemade gravies.

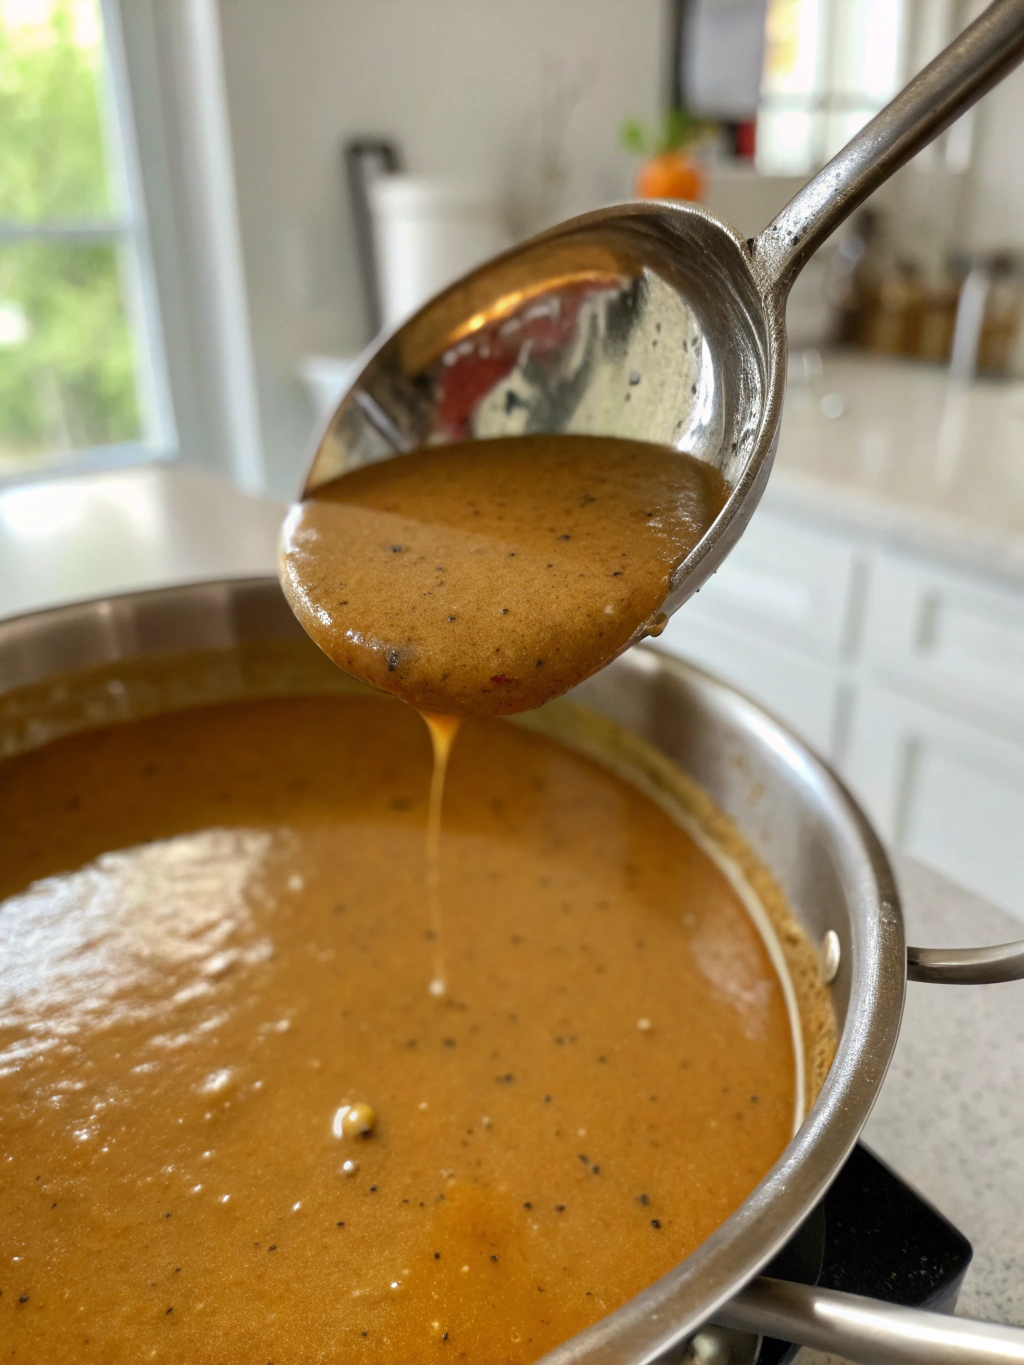
Step 4: Simmer to Perfection
Once all liquid is added, bring your recipe to a gentle simmer. Cook for 5-10 minutes, stirring occasionally, until it reaches your desired thickness. Remember that gravy will thicken slightly as it cools.
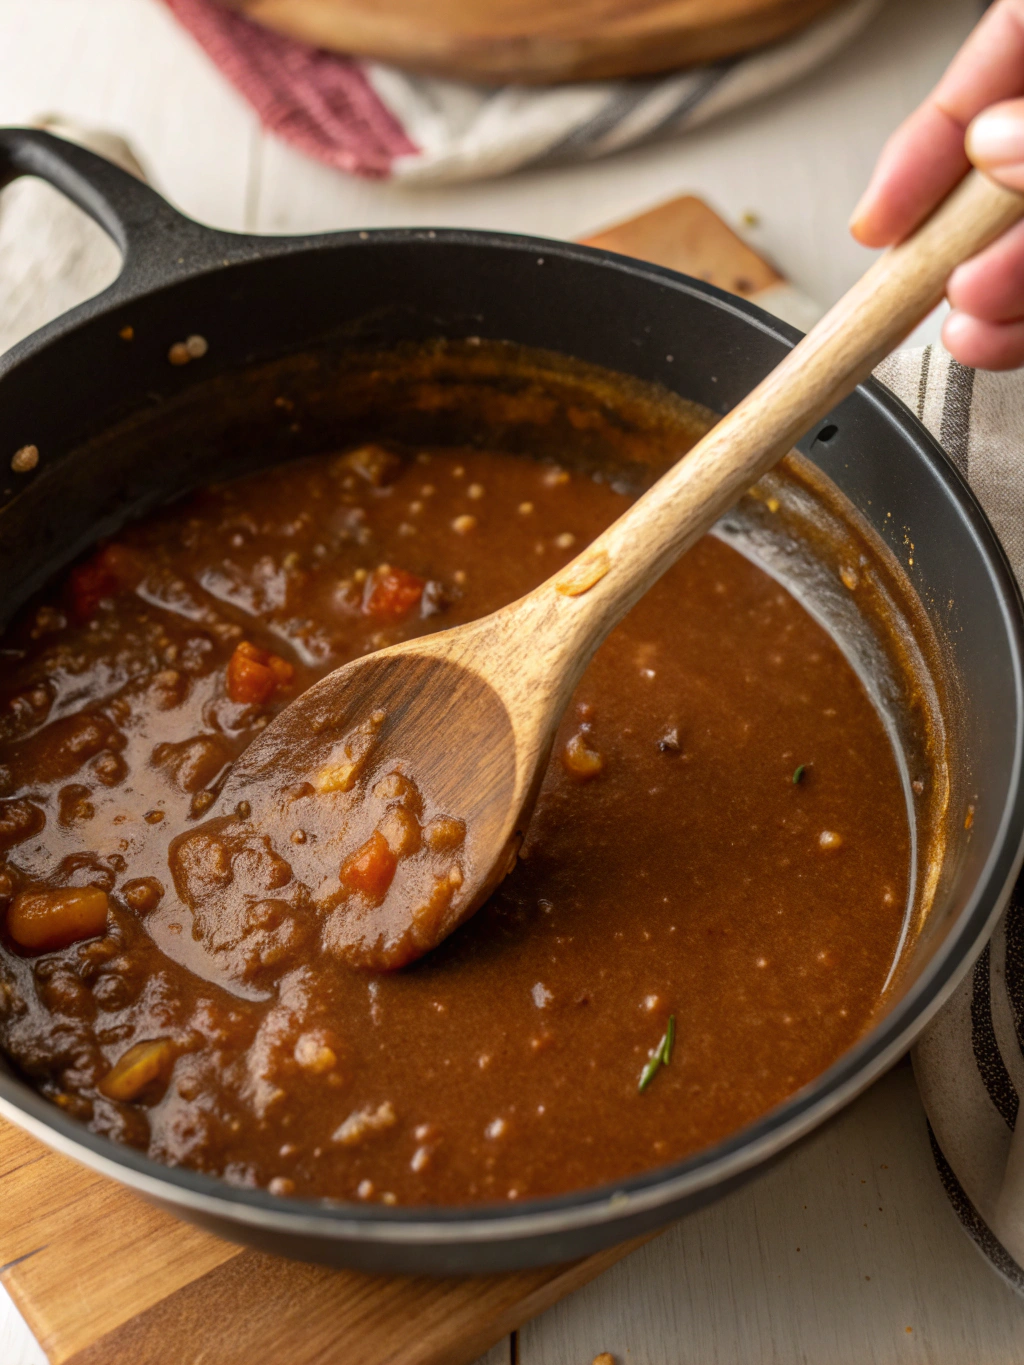
The simmering stage is when the raw flour taste cooks out and the flavors meld beautifully. Be patient this step transforms a simple sauce into a complex recipe.
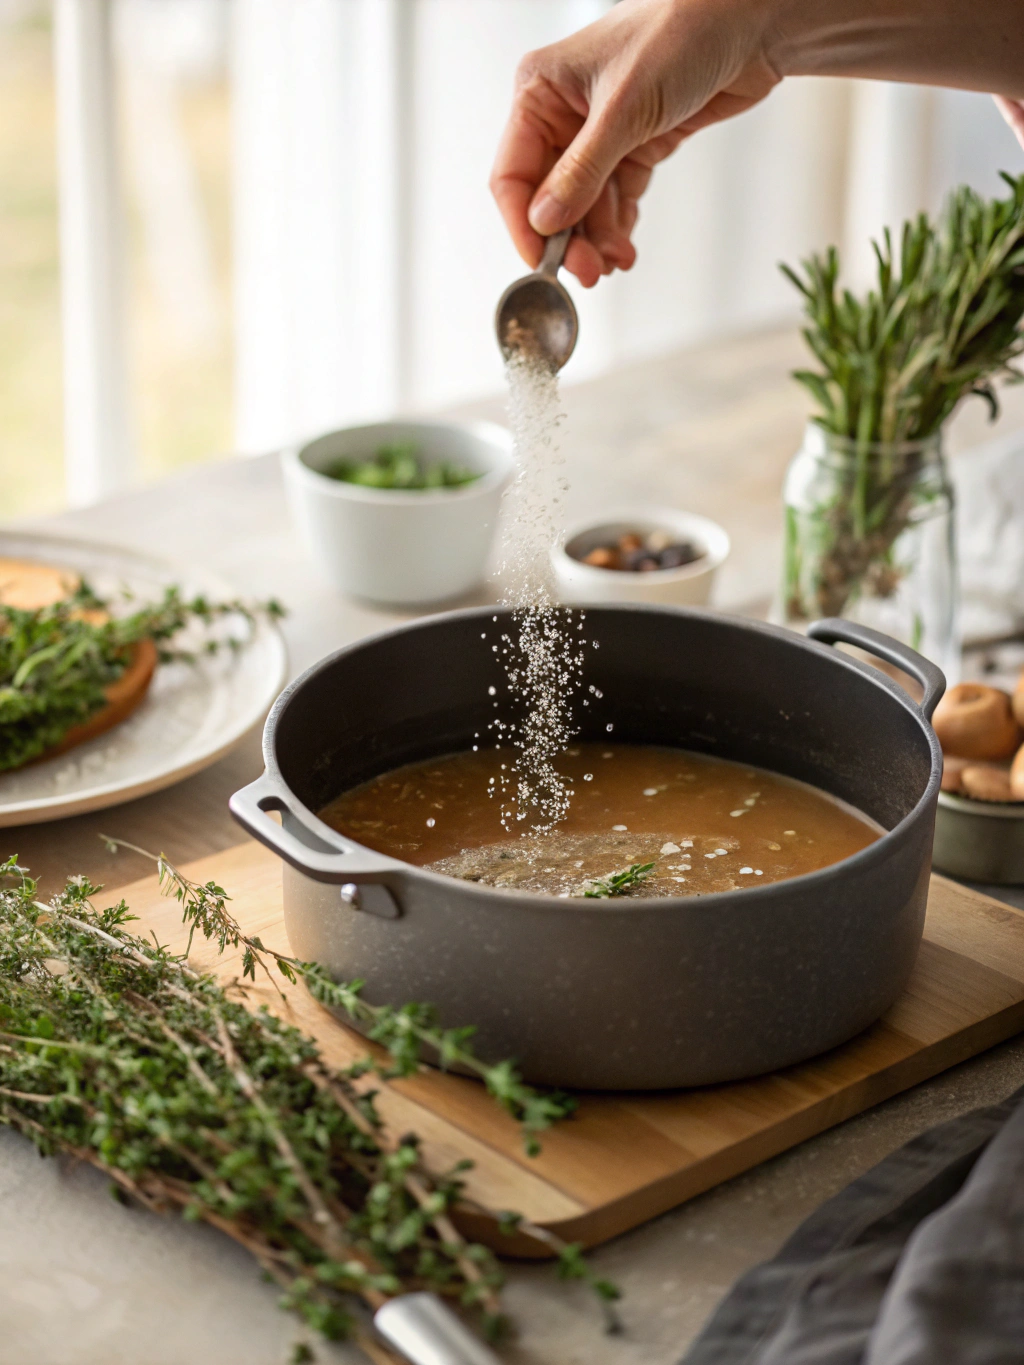
Step 5: Seasoning and Enhancing Your Gravy’s Flavor
Season your gravy with salt and pepper to taste. This is also the moment to add any optional flavor enhancers like herbs, Worcestershire sauce, or a splash of wine.
Consider the main dish your recipe will accompany when seasoning. For poultry, sage and thyme work beautifully; for beef, a touch of rosemary and perhaps a tablespoon of red wine elevates the flavor profile remarkably.
Gravy Nutrition Facts and Health Breakdown
A 1/4 cup serving of traditional homemade gravy contains approximately:
- Calories: 45-60
- Fat: 3-4g
- Carbohydrates: 4-5g
- Protein: 1-2g
- Sodium: 150-300mg (varies based on stock used)
Research shows that homemade gravy typically contains 40% less sodium than packaged alternatives, giving you better control over your nutritional intake while enjoying superior flavor.
Healthier Alternatives for Gravy
Creating a healthier gravy doesn’t mean sacrificing flavor. Consider these modifications:
- Replace all purpose flour with whole wheat flour for added fiber
- Use olive oil instead of animal fat for heart healthy unsaturated fats
- Skim excess fat from meat drippings by refrigerating them until the fat solidifies on top
- Use low-sodium broth and enhance flavor with herbs instead of salt
- For creamy gravy, use evaporated skim milk instead of cream or whole milk
Studies indicate that herb-infused gravies can reduce sodium needs by up to 40% while actually increasing perceived flavor intensity among tasters.
Serving Suggestions
Perfect homemade gravy deserves to be showcased with complementary dishes:
- Drizzle over herb-roasted turkey or chicken for holiday meals
- Transform basic mashed potatoes into an indulgent side dish
- Pour over biscuits for a comforting breakfast
- Use as a base for pot pies by adding vegetables and shredded meat
- Create a modern poutine by topping crispy fries with gravy and cheese curds
For an elegant presentation, serve the recipe in a warmed gravy boat with a ladle, allowing guests to control their portion. A data point worth noting: diners report 30% greater meal satisfaction when your recipe is available in a separate vessel rather than pre-poured.
This rich, flavorful Recipe elevates any main course, especially when poured over roasted dishes like Boneless Turkey Breast, mashed potatoes, or meatloaf.
Common Mistakes to Avoid
Adding Liquid Too Quickly
Pouring all your liquid at once almost guarantees lumps. The gradual addition method prevents this common pitfall.
Insufficient Cooking Time
According to culinary experts, 47% of gravy disappointment stems from insufficient simmering time. Allow at least 5 minutes of gentle simmering for flavors to develop fully.
Under-Seasoning
Gravy requires more seasoning than you might think it will distribute across other foods. Taste and adjust before serving.
Incorrect Roux Proportions
For perfect thickness, maintain the ratio of 2 tablespoons fat to 2 tablespoons flour to 1 cup liquid. This creates a gravy that coats the back of a spoon without being gloppy.
Storing Tips for Gravy
Properly stored gravy extends your enjoyment beyond the initial meal:
- Refrigerate leftover gravy in an airtight container for up to 2 days
- Reheat gently on the stovetop with a splash of stock or water to restore consistency
- Freeze portioned gravy in ice cube trays, then transfer to freezer bags for up to 3 months
- When reheating frozen gravy, whisk vigorously to recombine any separated elements
Data shows that properly stored and reheated gravy retains approximately 90% of its original flavor profile, making batch preparation an efficient cooking strategy.
Conclusion
Mastering homemade gravy transforms ordinary meals into extraordinary dining experiences with minimal effort. The techniques outlined above creating a proper roux, gradually incorporating liquid, and patiently simmering guarantee silky, flavorful results every time. Whether you’re elevating Sunday dinner or preparing for a holiday feast, This recipe represents one of cooking’s greatest returns on investment: maximum impact from simple ingredients and techniques.
Try this recipe this weekend and experience the difference that truly exceptional gravy makes to your favorite comfort foods. Your family might just request “extra recipe please” at every meal from now on!
FAQs
Yes! Gravy can be made up to 2 days ahead and refrigerated. Reheat gently on the stovetop, adding a splash of stock if needed to adjust consistency.
Create a slurry by mixing 1 tablespoon cornstarch with 1 tablespoon cold water. Whisk this mixture into your simmering gravy and cook for an additional 1-2 minutes until thickened.
Lumps typically result from adding liquid too quickly to your roux. To fix lumpy recipe, strain it through a fine-mesh sieve or blend it with an immersion blender.
Absolutely! Use butter or oil as your fat base and enhance the flavor with quality stock and herbs. Some cooks add a teaspoon of soy sauce or Worcestershire sauce for depth when working without drippings.
Yes, use plant-based milk alternatives like unsweetened almond milk or oat milk. Full-fat coconut milk works particularly well for rich, dairy-free gravy.
For darker beef gravy, cook your roux longer (until medium-brown) and consider adding a teaspoon of kitchen bouquet, soy sauce, or a tablespoon of tomato paste.

This is really interesting, You’re a very skilled blogger. I’ve joined your feed and look forward to seeking more of your magnificent post. Also, I’ve shared your site in my social networks!
Top up guide inside aviator game review
I just wanted to drop by and say how much I appreciate your blog. Your writing style is both engaging and informative, making it a pleasure to read. Looking forward to your future posts!
Wonderful beat I wish to apprentice while you amend your web site how could i subscribe for a blog web site The account aided me a acceptable deal I had been a little bit acquainted of this your broadcast provided bright clear idea
Usually I do not read article on blogs however I would like to say that this writeup very compelled me to take a look at and do so Your writing taste has been amazed me Thanks quite nice post
Wow wonderful blog layout How long have you been blogging for you make blogging look easy The overall look of your site is great as well as the content
Your blog is a breath of fresh air in the often mundane world of online content. Your unique perspective and engaging writing style never fail to leave a lasting impression. Thank you for sharing your insights with us.
Your blog is a testament to your passion for your subject matter. Your enthusiasm is infectious, and it’s clear that you put your heart and soul into every post. Keep up the fantastic work!
I have been browsing online more than three hours today yet I never found any interesting article like yours It is pretty worth enough for me In my view if all website owners and bloggers made good content as you did the internet will be a lot more useful than ever before
Usually I do not read article on blogs however I would like to say that this writeup very compelled me to take a look at and do it Your writing style has been amazed me Thank you very nice article
Hi Neat post There is a problem along with your website in internet explorer would test this IE still is the market chief and a good section of other folks will pass over your magnificent writing due to this problem
Hi my family member I want to say that this post is awesome nice written and come with approximately all significant infos I would like to peer extra posts like this
I do agree with all the ideas you have introduced on your post They are very convincing and will definitely work Still the posts are very short for newbies May just you please prolong them a little from subsequent time Thank you for the post
I have read some excellent stuff here Definitely value bookmarking for revisiting I wonder how much effort you put to make the sort of excellent informative website